Free Craft Project
Clay Fairy House

If you like working with clay, you'll love this unique and whimsical clay fairy house. Not only is it great to look at, the jar it's built around makes it the perfect storage container. Build it exactly as the instructions show or get creative and design your own custom version.
This project was submitted by Raji from Raji's Craft Hobby. Make sure you check out all his other great craft projects.
Materials
- air dry clay (get Ragi's homemade recipe here)
- oil paint
- clay tools
- glue
- plastic jar with lid
- aluminium foil
Instructions
Wash and dry the jar.

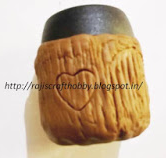
Mix brown paint into the clay and roll it out according to the size of your jar.

Wrap the clay around the jar.

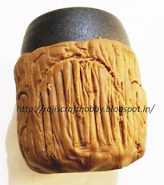
Texture the clay with your clay tool.

Trace out the door and the windows.


For the roof of the house, crumple the aluminium foil into a cone shape.

Glue it in place on the jar cap.

Cover it up with more clay.

For the door frame, roll out your brown clay.

Fold in half and twist it a bit.

Secure it in place with glue.

For texturing the roof, roll brown clay into an oval shape and press it.

Glue it to the bottom of the roof as shown. Keep going all the way around.

Roll out more clay and glue it in place until the entire roof top is covered.


For the chimney, roll the brown clay into a log shape and texture it.

Glue it on top of the roof.


Make foliage and flowers and glue them in place.


